
Aprilia Tuareg - Fixing loose GPS bar
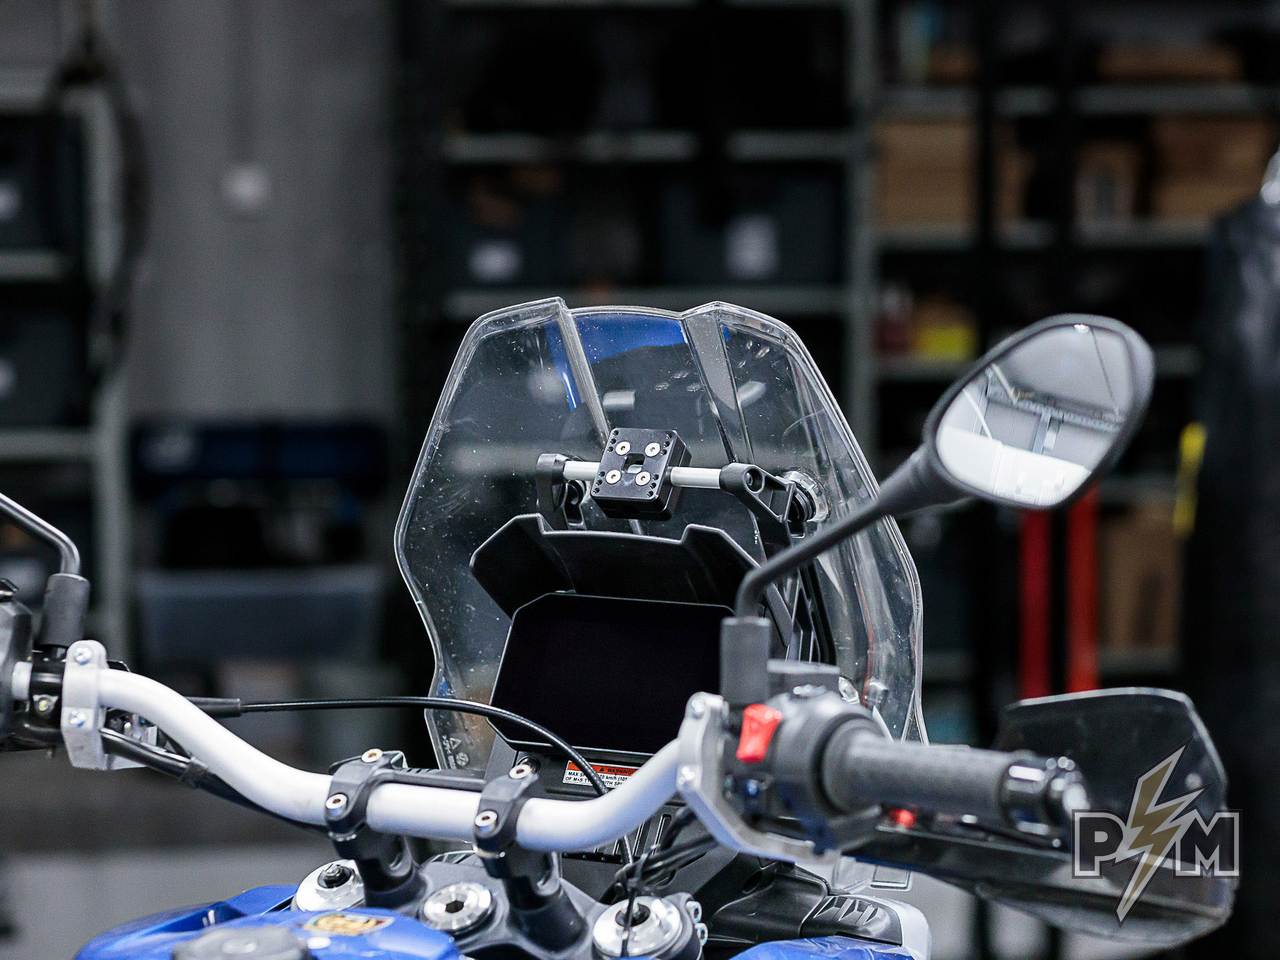
Aprilia Tuareg 660 comes with 12mm bar above the dashboard, in perfect position for a GPS. Placed up high, in line of sight, there's no need to take the eyes off the road.

Now, if you have installed a GPS or phone to Tuareg, chances are that the entire GPS bar has plenty of free play and rotates. No matter how hard you tighten to bolts it will not be stable. This makes a GPS bounce up and down, far from ideal. It turns out this is very common issue with Tuareg. Fortunately, there's a simple way to fix this problem. This is how I did it.
1. Remove the windscreen. Using a 4mm allen wrench undo the four bolts. Nuts on the inside slot into the plastic mount which stops them from rotating. It is very likely they will drop out, so pay attention not to loose them.


2. Remove two bolts which are holding the GPS bar. T25 torx wrench is needed for this.

3. With the bolts removed, it's time to remove the GPS bar. I was able to push the two plastic mounts outward and slide the GPS bar out. If you're concerned that the plastic mount could snap, it's safer to remove one of them.
Once the GPS bar is out, it's easy to understand what the issue is and why it rotates. GPS bar is flattened on both ends. Those flat ends slot into the plastic mounts. However, slots on plastic mounts are just a tad too large and there's enough room for GPS bar to rotate around.

4. Time to grab an empty soda can (more importantly, beer cans work just as well :) ). Rinse it with water before cutting, nobody likes sticky work surface. Cut it open and flatten out, then cut a narrow strip. Width of the strip should be the same (or 1mm narrower) than the length of the flattened surface on the GPS bar.
If you don't have proper tools, regular exacto knife will work just fine. Aluminum is thin and soft.

5. Time to make shims. I used regular household scissors to cut the shims from the strip. Make sure that dimensions of the shims are smaller than the surface of flattened area on GPS bar.

6. I used a drop of multipurpose glue to attach the shims to GPS bar. Glue is not necessary, but it helps keep the shims in place while reinstalling the GPS bar into the mount.
It was a trial and error process to figure out the number of shims. In the end, I have used two shims on each of the flat surfaces. So eight shims in total.

7. Reinstall the GPS bar. Slot one side into the plastic mount, then push both mounts outward to create enough room to reinstall the other end of the GPS bar. Do not use extensive force.
8. Tighten the two torx bolts which are attaching the GPS bar to the plastic mounts. In best case scenario, the GPS bar should have zero rotational free play. If there is still some free play you can try and add one more shim per side.

9. Once you're happy with the result, reinstall the windscreen. Job is complete and it's time to enjoy bounce-free GPS unit.
This is an easy DIY project. Even when working slowly, it shouldn't take more than 30-40 minutes. Solution is effective and simple. Definitely not the only way to address the issue.
2 Responses

Leave a comment
Comments will be approved before showing up.
Gliga - Perun moto
June 19, 2026
Hey Zebiggerman,
glad the article was helpful for you.
I don’t know if Aprilia addressed this issue on later models. My Tuareg was from 2023 and GPS bar was definitely loose.