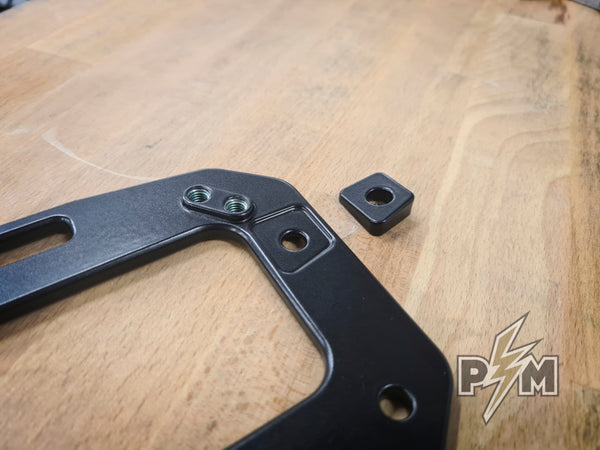
Perun moto KTM 1290 (2021+) Side carriers - Installation Instructions
Content of the kit (per side)
- 1 x 1290 Side carrier plate,
- 1 x sheet metal add-on bracket,
- 1 x stepped spacer,
- 2 x M8x30 countersunk bolts,
- 1 x M6x25 countersunk bolt,
- 2 x M6x20 countesunk bolt,
- 5 x M6x20 button head bolts,
- 5 x M6 mid washer,
- 3 x M6 small washer,
- 3 x safety nuts.
Side carriers can be installed with our without stock grab handles.
I. Side carrier - Installation
II. Mosko Aux Pox - Installation
III. Kriega OS-6 - Installation

I. Side carrier - Installation
1. Remove the stock rear side plastics, by unbolting two bolts per side.


2. Install the Side carrier as show, using M8x30 countersunk bolts. Tighten lightly.

Make sure that countersunk hole for M6 bolt is aligned with the threaded hole, as shown.

3. Insert stepped spacer so it fits into the slot on the underside of the Side carrier. Tighten using M6x25 countersunk bolt. Tighten lightly and make sure spacer is fitted into the pocket. Then tighten to 10 Nm.

Spacer should fit in the shallow pocket, as shown on the photos below. If this prove to be a problem, remove the Side carrier, place drop of super glue in the pocket and place the spacer. Wait few minutes and install as described.


Note that spacers for LHS and RHS are different (mirror image).
4. Tighten M8 countersunk bolts to 15 Nm.
5. After some time, check the bolts again and apply proper torque.
II. Mosko Aux Pox - Installation
Mosko moto Aux Pox 5l can be installed.
Mosko moto Aux Pox 4l won't work (one of the mounting bolts will make a contact with the frame)
1. Install the add-on bracket, as shown on the photo, using two M6x20 countersunk bolts, small M6 washers and M6 safety nuts. Bracket goes on the underside of the Side carrier.


2. Five holes on the Mosko moto Aux Pox correlates to the four threaded holes on the Side carrier plus one hole on the Add-on bracket.
Both 5l and 4l pockets use orange holes. Holes marked with green are used for 5l pockets.

3. Place the Aux Pox and fix the middle hole first, using M6x20 button head bolts and M6 mid washers on the inside. Bolt it to the Side carrier but don't tighten up yet.


4. Insert all remaining bolts, except the one that bolts to the add-on bracket, in the same way. Don't tighten yet.


5. Install the remaining bolt, to the add-on bracket, using button head bolt and mid washer from the inside of the bag and M6 small washer and M6 safety nut from the underside of the bracket.

6. Align everything and tighten up the bolts. Don't overtighten.
7. Insert the inside pocket. Fill the bag and close the straps.


III. Kriega OS-6 - Installation
1. Although not necessary, for easier installation, remove the seat (or rear seat).

Loosen the straps on the OS-6 bag.

2. Pull the rear closing strap through the Side carrier, as shown. Bag opening is pointed towards the rear of the bike.

3. Pull the upper loops through the slots, as shown, and use hooks.


4. Pull the lower loops through the slots, as shown, and use hooks.


5. Setup should look like this.

6. Fill the bag, close it and tighten the straps, including the rear strap.


Don't carry the bag empty! It can't be strapped well when empty.

