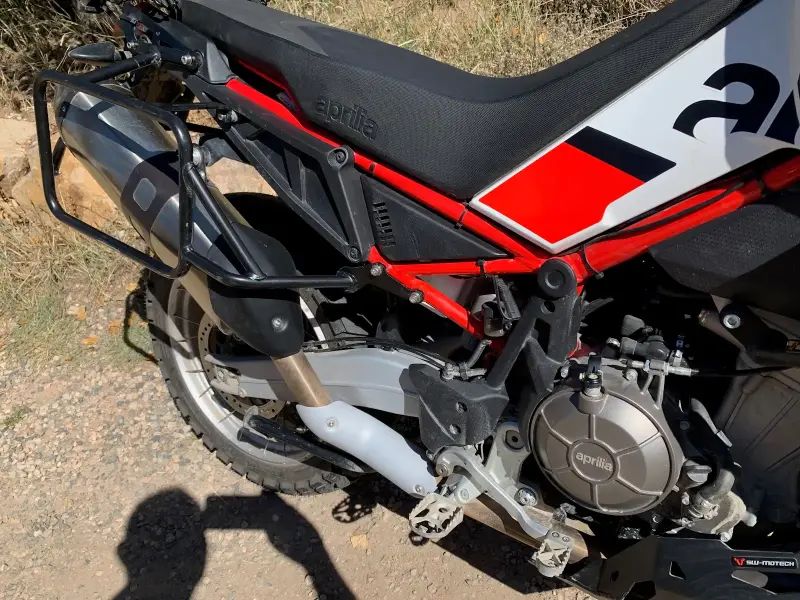

Aprilia Tuareg with Perun moto Top rack and Touratech pannier racks
Our Aprilia Tuareg 660 Top luggage rack can be installed with Touratech pannier racks for this bikes. These Touratech pannier racks have this product number - TOU-415-5560.

Integration is relatively simple but requires some extra hardware. This can be sourced locally, as it is a standard metric hardware. General idea is to mount Touratech pannier racks onto the side supports of Perun moto rack. This will place pannier racks 4 mm outward (relative to where they would sit if mounted without Perun moto top rack). This will require a bit longer bolts and some shimming with M8 washers or 4 mm spacers. When mounted, assembly will be strong and secure. Rear strut of the Touratech pannier racks will be under some tension, as the sides ot Touratech racks are now 4 mm more outward. But this won't cause any issues and will actually add to the robustness of the system.
Here is the hardware list. Try to get steel bolts, Zinc coated, in 8.8 or higher quality.
- 2 x M8x40 allen head bolt,
- 2x M6x55 allen head bolt,
- 4 x M8x45 allen head bolt,
- Some M8 large washers (12 pcs) or 4 x 4 mm spacer or laser cut plate (see note at the end of the post).
First mount Perun moto rear top rack, as per our Instructions. Then you would need to remove side bolts from one side (M6x40 buttonhead bolt and M8x30 buttonhead bolt).
Install the pannier rack on that side, per Touratech instructions.
1. Place upper Touratech tab over the side supports of Perun moto rack. Perun spacers are kept (between the bike and Perun moto side supports).
Use 5 mm longer bolts then what Touratech suggest - M6x50 (this one is supplied by Touratech, used for middle mount in original TT instructions) and M8x40.
Don't tighten, just turn the bolts few turns.

2. For middle mounts, use extra 4 mm spacer supplied by Touratech (used in the upper mounts in original TT instructions) and place it between the bike and Touratech tab, with spacers shown in the Touratech instructions.
Use M6x55 mm allen bolt instead of M6x50.

3. For lower mounts, place stacks of 3 x M8 washers or 4 mm spacer between the Touratech mounting tab and the bike (or use laser cut plate - see Notes at the end). And use 5 mm longer bolts again - M8x45. Don't tighten, just turn the bolts few turns.

Don't place rear strut yet.
4. Then repeat this on the other side.
5. When both sides are mounted, install the rear strut and tighten the bolts holding it. Then tighten rest of the bolts - upper mounts first, then lower mounts.
6. Check if everything is nicely aligned and secure. After first ride, make sure to check the bolts and re-tighten if needed.
Of course, you can remove passenger footpegs if you don't need them. Then you can use M8x40 bolts supplied by Touratech.


Note:
To make everything as elegant as it can be, I created a 4 mm thick tab which can replace the stacks of spacers in the lower mounting points. We won't sell it, but you can download DWG file here. Then find laser cutting shop or water jet shop locally and make them cut two, out of 4 mm thick aluminum or stainless steel.

Leave a comment
Comments will be approved before showing up.