
Drilling rear fairing on KTM 690 Enduro 2019+
New KTM 690 Enduro comes without OEM grab handles installed. You get them in the box. Threaded holes are hidden under rear fairing. In order to install grab handles or luggage rack, fairing needs to be drilled.
--- read till the end as this blog post is updated several times ---
A. Removing the fairings
1. Pull the loop and remove the seat.

2. Remove front side panels. Notice that there are no bolts.

First, unclip, using screwdriver or just pull carefully. Than just push the fairing towards and it will slide off.
Repeat on other side.

4. Remove gas cap and bolts marked with green circles.

5. Remove bolt holding rear top fairing from below. It's inside the marked hole.

6. Rear top fairing is free now, just pull it towards back of the bike and it will slide off.
7. Remove bolt marked on the picture below. Repeat on other side.

8. Remove small bolt holding the LHS side fairing to the exhaust bracket. Marked on the photo below.

9. Remove lower bolt holding RHS side fairing, marked on the photo below.
 10. Both rear side fairings are now free. Slide them towards back of the bike and remove them. RHS fairing is tight around the tank and has a "lip" hugging the tank, so take your time and wiggle it out carefully.
B. Drilling the fairings
1. Use 18 mm spade drill for wood.

or
step-drill - hole diameter should be approx. 17-18 mm.

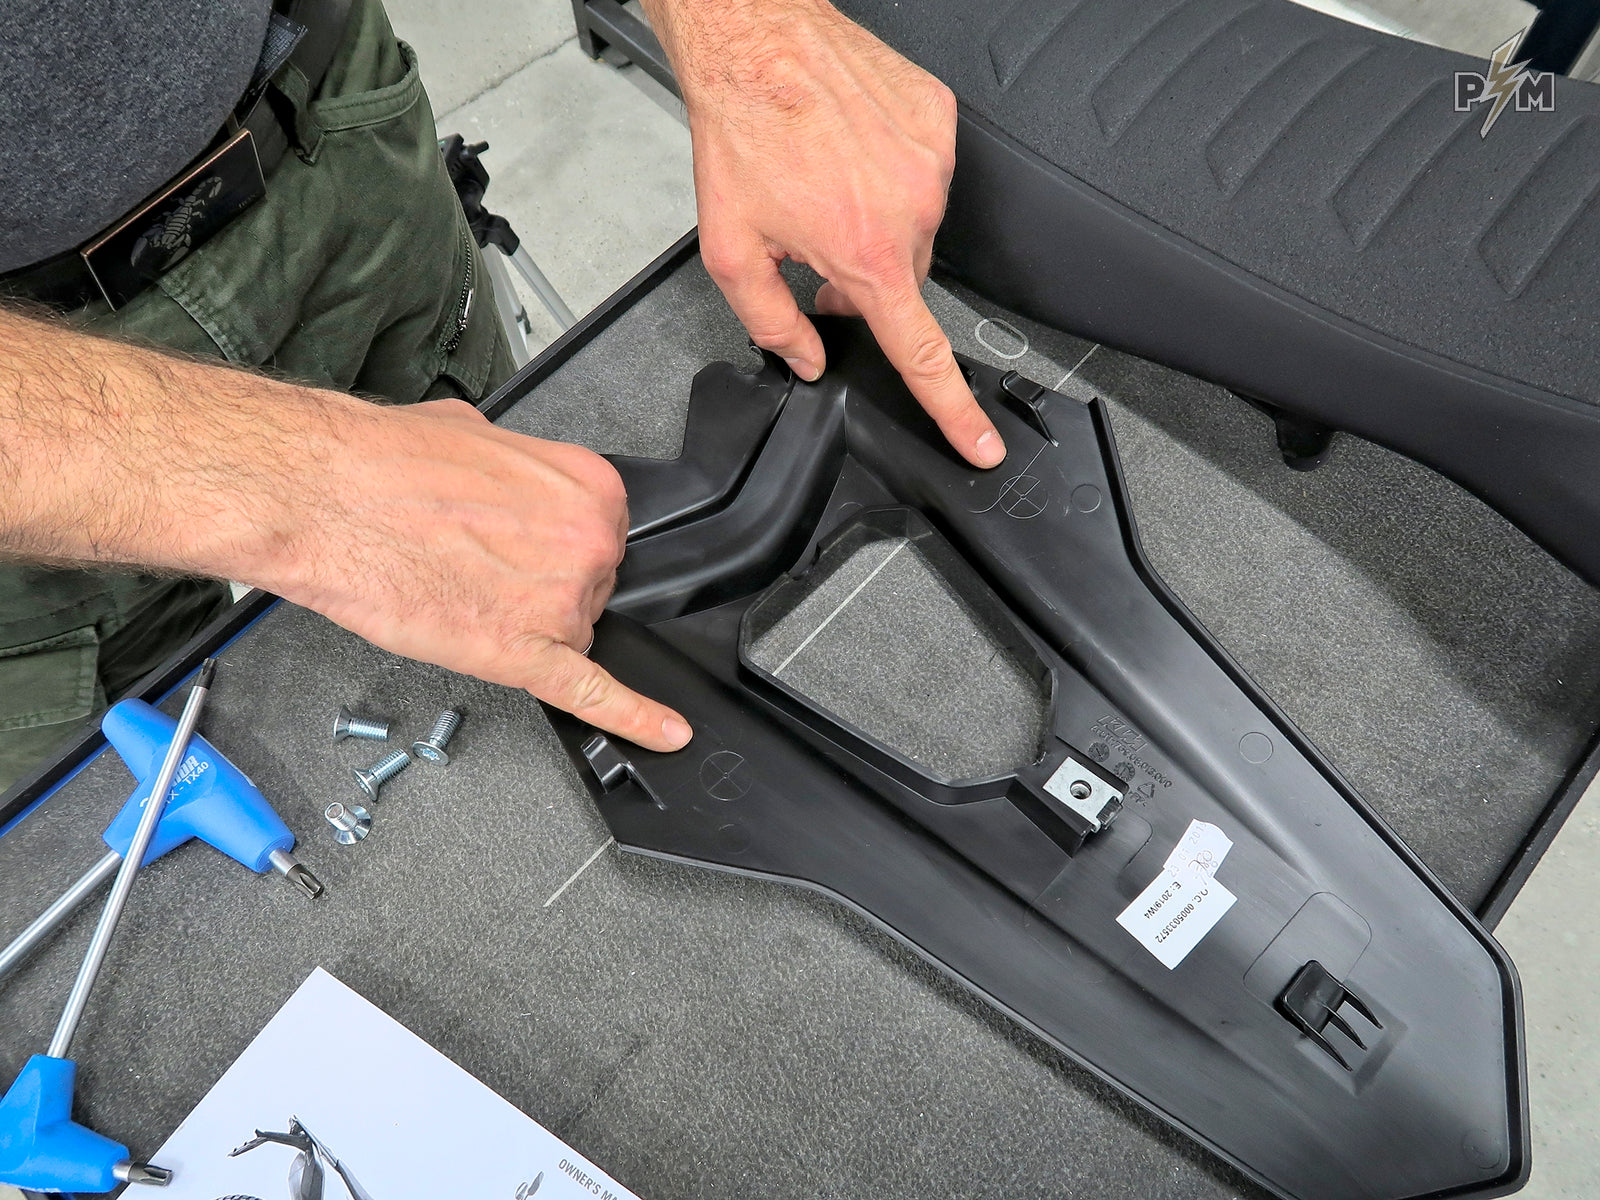
2. Locate drill markings on the fairings (NOTE: don't drill yet - finish reading before drilling!)


3. Drill using spade bit but note that markings on both LHS and RHS rear side panels are a bit off. Holes you drill won't align 100% with threaded holes on the tank. Drilled holes will be approx. 5 mm too much towards the front of the bike. If you won't perfect alignment, make smaller pilot hole, than place fairings back on the bike, tighten everything and check for alignment. Than drill larger hole accordingly.
---
Check the updates at the end of this blog post.
---
Since drill used for drilling through side panels is 18 mm diameter and lower spacers used for for mounting Perun moto Luggage rack are 14 mm diameter, spacers will fit even if holes are not perfectly aligned.

4. Remove burr from hole edge, if there is any.
C. Installing the fairings
Repeat everything backwards.
1. Side panels first. Tighten all bolts.
2. Rear top fairing next. Make sure all clips slid in correctly. Don't forget bolt inserted from below. Close gas cap.

3. Front side fairings. Make sure everything is in the place.

4. Install the seat and check everything once again.
---
UPDATE 19.5.2020: I am informed by our customer Erik, that all markings on his 2020 690 are spot on, no need for any adjustments. So it would be wise to make small pilot hole first, put the plastics back and check everything before making a larger hole.
UPDATE 13.11.2020: Our customer Grant reported that markings on the white plastics aren't aligned well on his 2020 bike. He drilled a pilot holes, checked everything twice and he drilled holes in the perfect locations. Than he removed the plastic to check if the markings and the holes are aligned. Here is what he saw.


UPDATE 1.6.2023: Our customer Paul S. proposed clever way of drilling the holes in the exact location. First, he removed the plastics. Then he took one M8 bolt and grind it, so it has a pointy end.


He bolted it (just a little bit, so it can be easily removed!) into the tank threaded inserts.

Then he placed the plastics on top of it, with some thick paper between the plastics and the pointy bolt.

When he was sure the plastics were properly aligned, he removed the protective paper and pressed the plastics down onto the pointy bolt.
This made a clearly visible mark on the plastics.

Needless to say, drilled hole was aligned perfectly with the threaded insert below.

Leave a comment
Comments will be approved before showing up.